클라우드프로그래밍 2주차 — AWS EC2로 가상 서버 띄우고 웹서버 올리기
AWS EC2로 t2.micro 인스턴스를 배포하고 SSH로 접속해 Apache 웹서버를 올린 뒤 외부 접속까지 확인한 2주차 기록. 콘솔 대신 AWS CLI로 진행했다.
클라우드프로그래밍 2주차 — AWS EC2로 가상 서버 띄우고 웹서버 올리기
2주차는 AWS의 대표 컴퓨팅 서비스인 EC2 로 가상 서버를 한 대 배포했다. 강의는 콘솔(GUI) 위주로 진행되지만, 과정을 그대로 재현할 수 있도록 AWS CLI로 진행하며 입력과 출력을 정리했다. 서울 리전(ap-northeast-2)에 프리티어 t2.micro 로 진행했고, 계정 ID는 일부 가렸다.
핵심 개념
- 서버 / 가상 서버: 서비스를 제공하는 컴퓨터. 클라우드에서는 물리 서버 위에 가상화로 가상 서버를 만들어 빌려 쓴다.
- Amazon EC2(Elastic Compute Cloud): 퍼블릭 클라우드의 가변 컴퓨팅 자원(가상 머신) 서비스.
- AMI(Amazon Machine Image): 인스턴스를 찍어내는 OS+설정 템플릿(여기선 Amazon Linux 2023).
- 인스턴스 타입: CPU/메모리 사양(여기선 프리티어
t2.micro). - 보안 그룹(Security Group): 인스턴스 방화벽(인바운드/아웃바운드 규칙). 키 페어: SSH 공개키 인증용.
EC2 인스턴스 배포하기
계정 접근 확인
1
2
3
4
5
6
$ aws sts get-caller-identity
{
    "UserId": "AIDA5SZRJB65********",
    "Account": "9337****0266",
    "Arn": "arn:aws:iam::9337****0266:user/admin"
}
키 페어 + 보안 그룹 생성
1
2
3
4
5
6
7
$ aws ec2 create-key-pair --key-name cloudprog-key --query "KeyMaterial" --output text > cloudprog-key.pem
$ chmod 600 cloudprog-key.pem        # 개인키 권한 제한

$ aws ec2 create-security-group --group-name cloudprog-sg --description "week2 lab"
sg-036654d8ffc82a2e7
$ aws ec2 authorize-security-group-ingress --group-id sg-0366... --protocol tcp --port 22 --cidr 220.83.229.159/32   # SSH = 내 IP만
$ aws ec2 authorize-security-group-ingress --group-id sg-0366... --protocol tcp --port 80 --cidr 0.0.0.0/0           # HTTP = 전체
AMI 조회 + 인스턴스 배포 (t2.micro)
1
2
3
4
5
6
7
8
9
10
11
12
13
$ aws ec2 describe-images --owners amazon --filters "Name=name,Values=al2023-ami-2023.*-x86_64" \
    --query "sort_by(Images, &CreationDate)[-1].ImageId" --output text
ami-09ec11229c1cf3485

$ aws ec2 run-instances --image-id ami-09ec... --instance-type t2.micro \
    --key-name cloudprog-key --security-group-ids sg-0366... \
    --tag-specifications 'ResourceType=instance,Tags=[{Key=Name,Value=cloudprog-week2}]'
i-0ad4b972328e46d52

$ aws ec2 wait instance-running --instance-ids i-0ad4...
$ aws ec2 describe-instances --instance-ids i-0ad4... \
    --query "Reservations[0].Instances[0].[InstanceId,InstanceType,State.Name,PublicIpAddress,Placement.AvailabilityZone]"
i-0ad4b972328e46d52   t2.micro   running   3.35.21.110   ap-northeast-2c
SSH 접속 + 웹서버(httpd) 설치
1
2
3
4
5
6
7
$ ssh -i cloudprog-key.pem ec2-user@3.35.21.110
[remote] hostname: ip-172-31-37-91.ap-northeast-2.compute.internal
[remote] whoami: ec2-user
[remote] OS: "Amazon Linux 2023"
[remote] sudo dnf install -y httpd        → httpd 설치 완료
[remote] sudo systemctl enable --now httpd → httpd 구동: active
[remote] index.html 배포 완료
외부에서 웹 접속 확인
1
2
3
4
5
$ curl -s -o /dev/null -w "%{http_code}\n" http://3.35.21.110
200
$ curl -s http://3.35.21.110
<html>...<h1>클라우드프로그래밍 2주차 - AWS EC2 웹서버</h1>
<p>Amazon Linux 2023 / Apache httpd on t2.micro</p>...
브라우저로 퍼블릭 IP에 접속하면 EC2가 서빙하는 페이지가 표시된다.
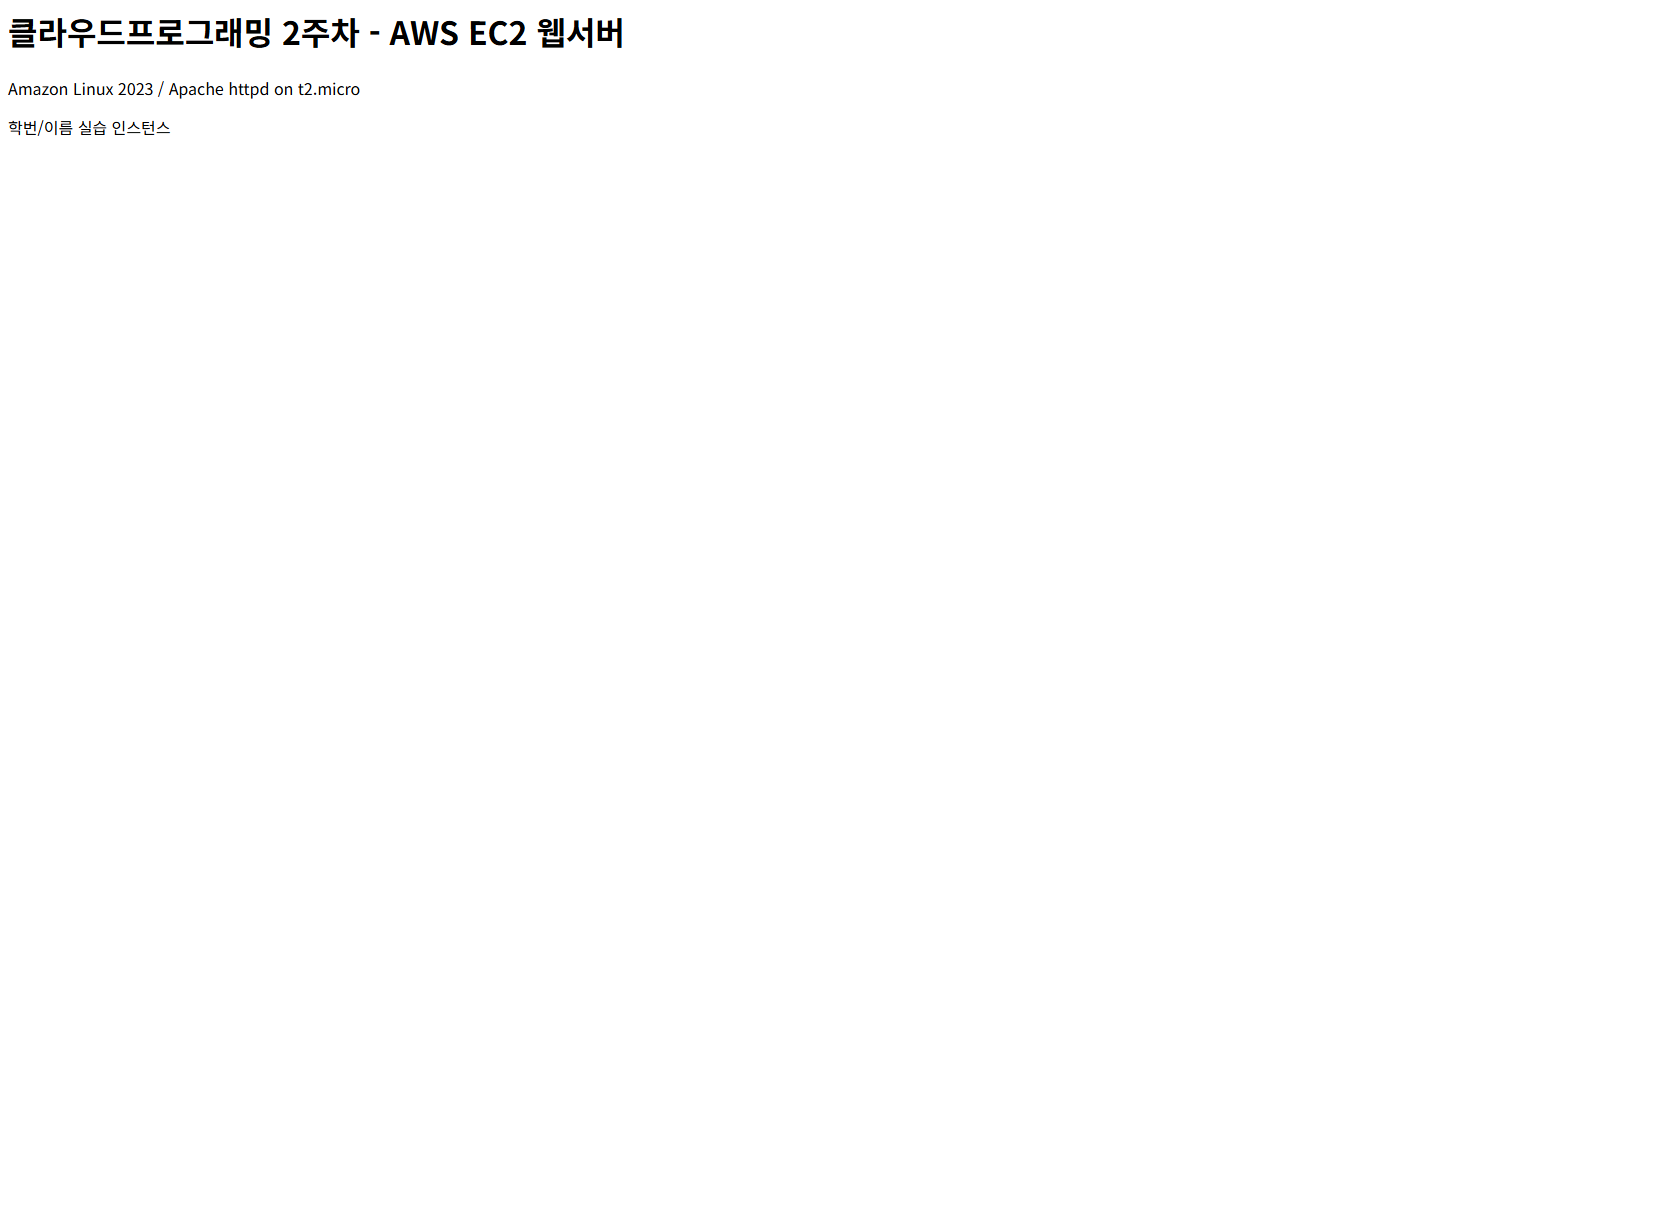 Amazon Linux 2023 + Apache httpd가 t2.micro 인스턴스에서 제공하는 페이지.
모니터링 (상태검사 + CloudWatch)
1
2
3
4
5
6
7
$ aws ec2 describe-instance-status --instance-ids i-0ad4...
running   ok   ok                       # 인스턴스/시스템 상태검사 통과

$ aws ec2 monitor-instances --instance-ids i-0ad4...    # 상세 모니터링 활성화
$ aws cloudwatch get-metric-statistics --namespace AWS/EC2 --metric-name CPUUtilization \
    --dimensions Name=InstanceId,Value=i-0ad4... --period 300 --statistics Average Maximum
Average=20.16  Maximum=20.16  Unit=Percent     # CloudWatch CPU 지표 수집 확인
정리 — 자원 삭제
프리티어라도 켜 두면 과금이 될 수 있어, 끝난 뒤 만든 자원을 모두 정리했다.
1
2
3
4
5
6
7
8
$ aws ec2 terminate-instances --instance-ids i-0ad4...     → shutting-down
$ aws ec2 wait instance-terminated --instance-ids i-0ad4... → 종료 완료
$ aws ec2 delete-security-group --group-id sg-0366...       → 삭제됨
$ aws ec2 delete-key-pair --key-name cloudprog-key          → 삭제됨

$ aws ec2 describe-instances --filters "Name=instance-state-name,Values=running,pending" \
    --query "Reservations[].Instances[].InstanceId"
(없음 — 남은 자원 0개)
정리
AMI → 인스턴스 → 보안그룹 → 키페어로 이어지는 EC2 구성요소를 하나의 흐름으로 정리했다. 보안 그룹의 SSH=내 IP만 / HTTP=전체 규칙은 포트와 CIDR 개념을 그대로 적용한 부분이다. 실습 후에는 describe-instances 로 남은 자원이 없는지 확인하고 모두 삭제해, 과금이 발생하지 않도록 정리했다. CLI로 진행한 덕분에 전 과정이 재현 가능한 형태로 남는다.
This post is licensed under CC BY 4.0 by the author.